Handmade in York, PA — Each Piece One of a Kind
12 min read
·
If you've ever seen a piece of ice-dyed apparel and thought "how did they do that?" — you're not alone. When I first stumbled across ice dyeing back in 2021, I had the same reaction. The colors were richer, the patterns more organic, and the whole thing looked like watercolor art you could wear. I had a bachelor's degree in art from California University of Pennsylvania and years of mixing color in cosmetology school, so I understood color theory. But ice dye was something entirely different. It felt like a collaboration between chemistry and chance, and I was hooked.
Now, after years of ice dyeing full-time out of my studio in York, PA, I want to walk you through the entire process. This how to ice dye tutorial covers everything: supplies, fabric prep, folding, dye application, curing, rinsing, and washing. Whether you want to dye a single tee for fun or you're thinking about starting your own small batch operation, this guide will get you there.
Ice dyeing is a fabric dyeing technique where you apply powdered fiber-reactive dye on top of ice that sits over your fabric. As the ice melts slowly, it carries the dye particles down through the fibers in unpredictable streams and rivulets. The slow melt is what creates those signature watercolor effects. Colors blend and separate in ways you simply can't achieve with traditional tie dye methods.
The biggest difference between ice dye and traditional tie dye is the pigment splitting. When you use a single Procion MX dye color on ice, something unexpected happens: the dye fractures into its component pigments. A color called "Boysenberry" might split into deep plum, rose pink, and pale lavender. "Jade" can separate into teal, seafoam, and golden chartreuse. This means that one jar of dye can produce three or four distinct colors on your fabric, creating depth and complexity that mixed liquid dye just can't replicate.
The result is apparel with a layered, organic quality. Rich color that looks painted rather than dipped. And because the ice melts differently every single time, every piece you create is one-of-a-kind. Even I can't duplicate my own work, and I've been doing this for years.
Before you start, gather everything. There's nothing worse than being halfway through the process with dye on your gloves and realizing you forgot the soda ash. Here's your full supply list:
The blank you choose matters more than most beginners realize. You need 100% cotton or at minimum a high-cotton blend (80/20 cotton-poly will work, but expect slightly muted colors on the poly fibers). Here are the blanks I use in my own studio and recommend for beginners:
Pro tip: always buy white or natural blanks. Light pastel blanks can work, but white gives you the truest color expression from your dyes.
This step is where most beginners either skip or rush, and it's the most important part of the entire process. Soda ash (sodium carbonate) raises the pH of your fabric, which is essential for Procion MX dyes to form permanent covalent bonds with the cellulose fibers in cotton. Skip this step and your colors will wash right out.

I pre-soak all my blanks in soda ash before every single batch. In my studio, I keep bins of soda ash solution ready to go at all times. For a beginner doing a single piece, one bucket is plenty.
How you arrange the fabric before icing determines the final pattern. This is where the art meets the science. There's no wrong way to do this, but different techniques produce very different results.

The Scrunch (Crumple). This is where I tell every beginner to start. Take your soda-ash-soaked blank and crumple it into a loose ball. Don't fold it neatly, don't twist it. Just scrunch. Place it on your wire rack. This technique creates dense, complex patterns with organic lines and white space. It's forgiving because there's no precision required.
The Flat Lay. Lay your blank relatively flat on the rack with gentle folds and ripples. This produces broad, sweeping watercolor washes with less white space and more blended color. Beautiful for a subtle, painterly look.
The Twist. Lay the shirt flat, pinch the center, and twist the entire thing into a flat spiral. This creates a spiral-adjacent pattern, but with ice dye it looks more like a galaxy than the classic tie dye spiral. Interesting, but harder to control as a beginner.
My honest recommendation: start with the scrunch. I still use it for most of my pieces because the organic patterns it produces are the most consistently beautiful. The scrunch is what gives ice dye that "wearable art" quality that sets it apart from traditional tie dye.
Place your manipulated fabric on the wire rack, which should be sitting over your catch bin. Now pile ice on top. Be generous. You want a thick layer covering the entire surface of the fabric. The ice should be mounded at least 2-3 inches deep.

A few things to keep in mind:
This is the fun part. With your ice mounded over the fabric, sprinkle powdered Procion MX dye directly onto the ice. The dye sits on the surface of the ice and slowly dissolves as the ice melts, carrying concentrated color down into the fibers below.

For a single crewneck sweatshirt, I typically use about 1-2 tablespoons of total dye powder spread across the ice. For a tee shirt, closer to 1 tablespoon. These are rough guidelines. You'll develop your own feel for it after a few projects. The key is remembering that powdered dye is concentrated. A little goes a long way.
Once your dye is applied, cover the entire setup loosely with plastic wrap or a garbage bag. This keeps the moisture in, slows evaporation, and lets the process work undisturbed.
Now comes the hardest part: patience. The ice needs a full 24 hours to melt completely and carry the dye deep into the fibers. Rushing this step is the single biggest mistake I see beginners make.

I set my dye projects in a temperature-controlled area in my studio. You don't need a professional setup. A cool room, garage, or basement works fine. Just avoid hot areas or direct sunlight, which will melt the ice too quickly.
Don't peek. Seriously. Every time you lift the plastic, you're releasing moisture and potentially shifting the fabric. Set it, cover it, and walk away.
After 24 hours, it's time to rinse. This is another step where patience pays off. The goal is to remove all the excess, unbonded dye while keeping the bonded color locked in the fibers.

In my studio, I run garments through 3-4 rinse cycles in my industrial washers until the water runs completely clear. For a home setup, one good hand rinse followed by a machine wash is usually enough for a single piece.
Tumble dry on low heat or hang dry. Once your piece is dry, the colors will look even more vibrant than they did when wet. This is the moment when you realize why ice dye is addictive. The first time you unfold a finished piece and see those rivers of color, you'll want to do it again immediately.
After years of ice dyeing professionally and talking with other dyers, these are the mistakes I see over and over:
If your colors wash out, this is almost always the reason. Soda ash is not optional. It's the chemical that enables the permanent dye bond. No soda ash, no permanent color.
Procion MX fiber-reactive dye is what you need. Not Rit, not food coloring, not acrylic paint mixed with water. Procion MX forms a covalent bond with cellulose fibers. Other products just stain the surface and fade fast.
Skimping on ice leads to fast melting and flat results. The whole point of ice dye is the slow, controlled melt that creates organic patterns. Pile it on.
Procion MX only bonds with cellulose (plant-based) fibers. 100% polyester will not take the dye at all. Cotton-poly blends will dye unevenly. The cotton fibers absorb color while the poly fibers stay light, creating a heathered effect. It can look cool on purpose, but it's frustrating if you didn't expect it.
Twenty-four hours. Not eight. Not twelve. A full day. Pulling your fabric early gives you lighter, less saturated colors and reduced permanence. I know it's hard to wait, but it makes a real difference.
If your ice dye bleeds on other laundry the first time you wash it, you didn't rinse out all the excess dye. Keep rinsing until the water runs clear. This step is tedious but important. A garment that bleeds color in your customer's first wash (or your own) destroys trust in the quality.
Ice dye works by adding color to fabric. If your base fabric is already dark, the dye has nothing to show against. Always start with white or very light-colored blanks for the best results.
Properly dyed and rinsed ice dye apparel is colorfast and durable. Here's how to keep it looking its best:
I've worn and washed my own ice-dyed pieces dozens of times without noticeable fading. The dye is literally part of the fiber at a molecular level. It's not sitting on top like a screen print or a surface stain.
If you want to skip the supply hunting, our DIY Ice Dye Boxes come with everything you need: Procion MX dye, soda ash, gloves, and instructions. Just add ice and a blank. They're the same materials I use in my own studio, bundled up for at-home use.
If you'd rather skip the DIY route entirely and just wear the finished art, browse our ready-to-ship ice dye collection. Every piece is hand-dyed by me in my York, PA studio, one at a time, and no two are alike.
Ice dyeing changed the direction of my life. What started as an experiment in my home became the foundation of Floorboard Findings, and years later I still get the same rush watching ice melt and reveal colors I didn't expect. There's nothing else like it. Give it a try — you'll see what I mean.
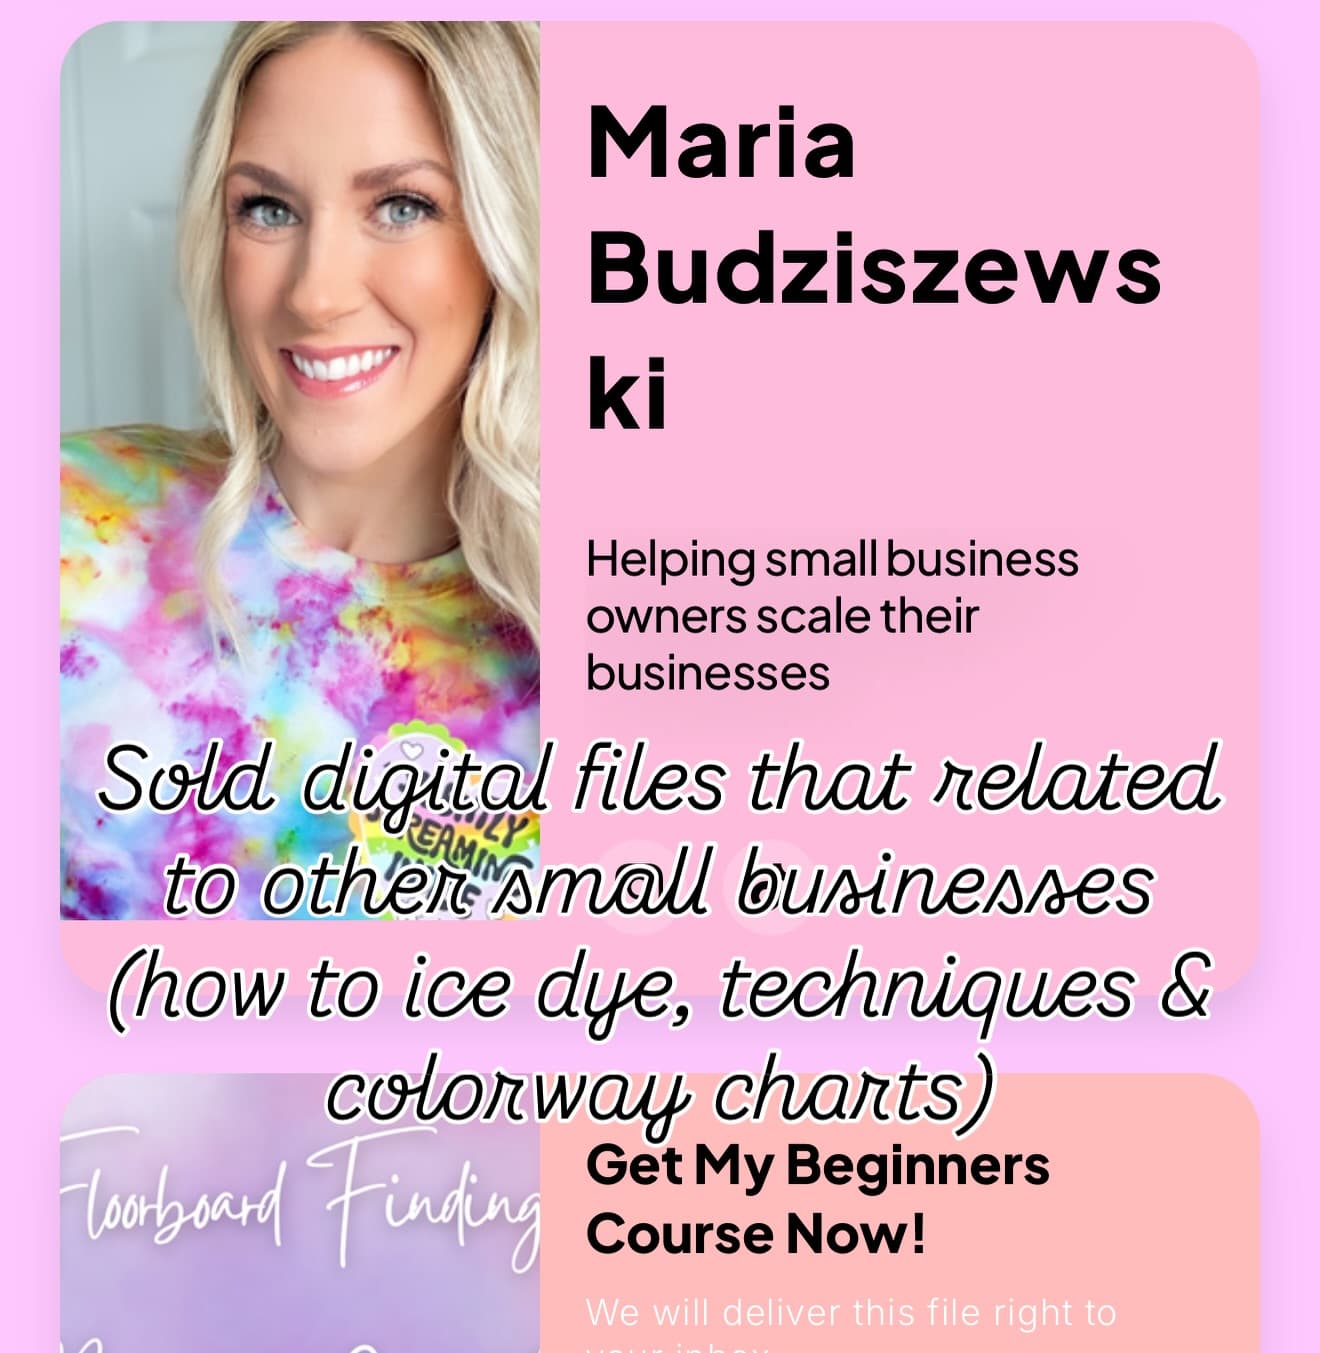
Maria Budziszewski
Owner & Creator
Every piece is hand-dyed with care in York, PA. From ice dye hoodies to crystal jewelry, each item is crafted to be one-of-a-kind.
Meet the creator →Love what you see?
Shop our handmade ice dye apparel, graphic tees, and crystal jewelry.
Browse CollectionsMore from the Journal
 Tutorials
April 15, 2026
Maria Budziszewski
·9 min read
Not all blanks are created equal when it comes to ice dye. Here's my honest comparison of the blanks I actually use in my studio — Comfort Colors, Bella Canvas, Gildan, and Rabbit Skins — with real pros and cons.
 Tutorials
June 1, 2026
Maria Budziszewski
·9 min read
Fifteen ice dye color combinations organized by mood, plus the science of Procion MX color splitting. From warm sunset palettes to cool ocean tones, these are the combos I reach for in my studio.
 Tutorials
July 1, 2026
Maria Budziszewski
·5 min read
A full walkthrough of everything inside our DIY Ice Dye Box — from Procion MX dye and soda ash to premium blanks and gloves — plus tips for making the most of your first dye day.
